Making straw rockets has been a cherished pastime in my household for years. Whether it’s a rainy day or simply a moment when the kids need a creative outlet, these rockets never fail to bring joy. Over the years, I’ve refined the process, adding my own personal touches and expertise.
Today, I’m thrilled to share this knowledge with you. Let’s dive into the world of straw rockets and discover the magic behind this simple yet fascinating activity.
Why Straw Rockets?
Straw rockets, at their core, are a testament to the beauty of simplicity. They require minimal materials, most of which are readily available in any household. Yet, the joy and learning they bring are immense. They’re not just toys; they’re tools for understanding basic aerodynamics, the art of crafting, and the thrill of competition.
The Timeless Appeal
The beauty of straw rockets lies in their timeless appeal. They’ve been a favorite in my family across generations. My grandparents recall making them, I grew up launching them, and now my kids are rocket enthusiasts too. It’s a tradition, a rite of passage, and a shared memory that binds us together.
Essential Materials for Your Rocket

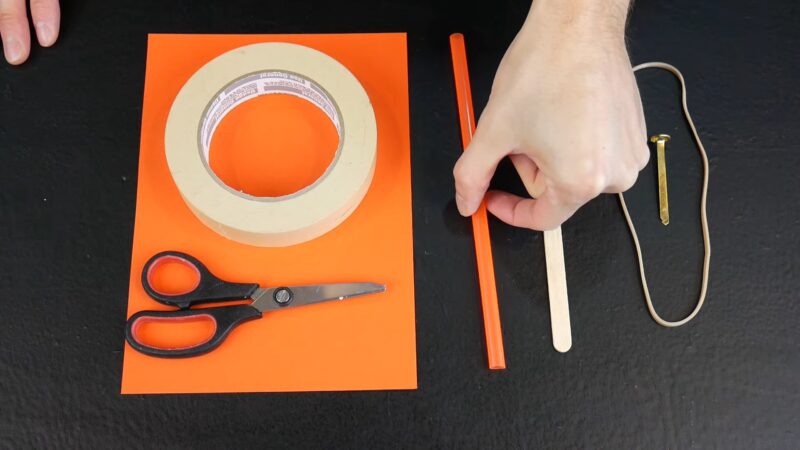
Before we embark on our rocket-making journey, it’s crucial to gather all the necessary materials. Here’s what you’ll need:
- Straws (preferably the thicker variety for better propulsion)
- Lightweight printer paper
- Tape or glue (I personally prefer tape for its quick and mess-free application)
- Scissors
Choosing the Right Straw
The straw is the backbone of your rocket. While any straw will do, I’ve found that the thicker, sturdier ones offer better propulsion. They also tend to be more durable, allowing for multiple launches without bending or breaking.
Crafting: A Step-by-Step Guide
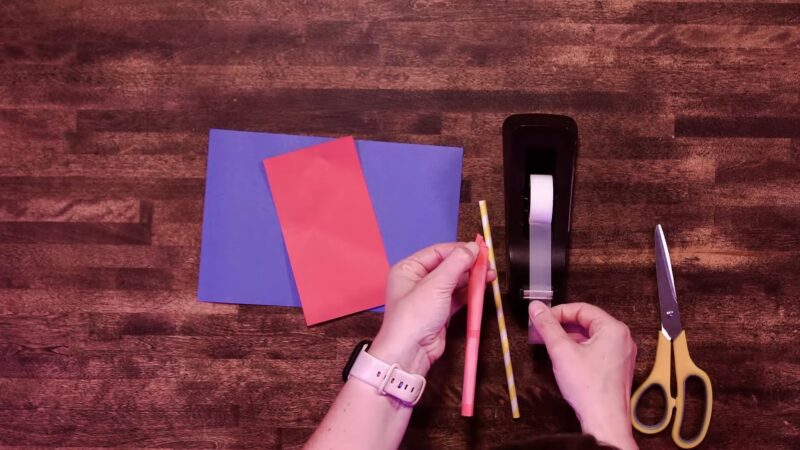
Start by cutting your 8 x 11 printer paper into 12 pieces. If you’re holding the paper portrait-style, make six horizontal cuts and then one vertical cut down the center. This will give you pieces roughly 2″ by 4″. But here’s a secret from my years of experience: perfection isn’t necessary. In fact, sometimes the slightly uneven rockets fly in the most delightful, unpredictable patterns.
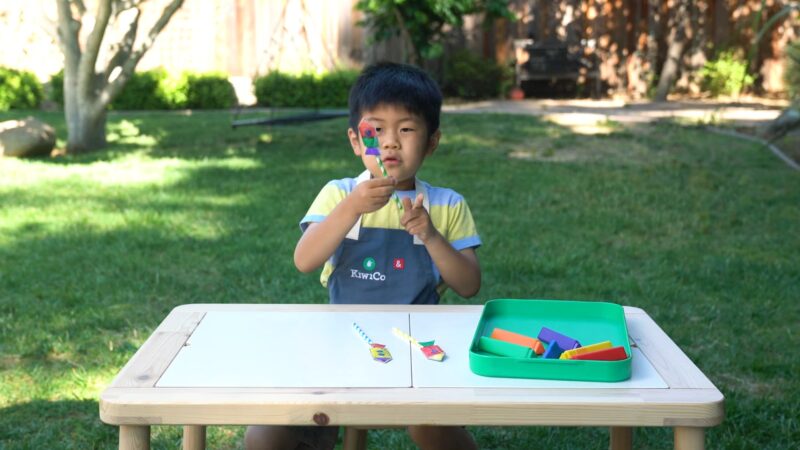
Once you’ve got your paper pieces, it’s time to unleash your creativity. Decorate them with crayons, markers, or even watercolors if you’re feeling adventurous. Remember, the design can influence the flight pattern, so feel free to experiment!

Rolling and Sealing the Rocket
Now, take a paper strip and roll it loosely around the straw. Secure it with tape along the edge. If you’re using glue, ensure it’s given ample time to dry. I’ve had many an eager child (and adult!) end up with a sticky mess because of impatience.
Keep in mind that you should prioritize your childs safety around materials like glue which can get ingested.
Next, fold down the top of the paper tube and tape it securely. This will be the nose of your rocket. A pro tip from my many rocket launches: a sharper fold can sometimes result in a more streamlined flight.
Launching Your Masterpiece
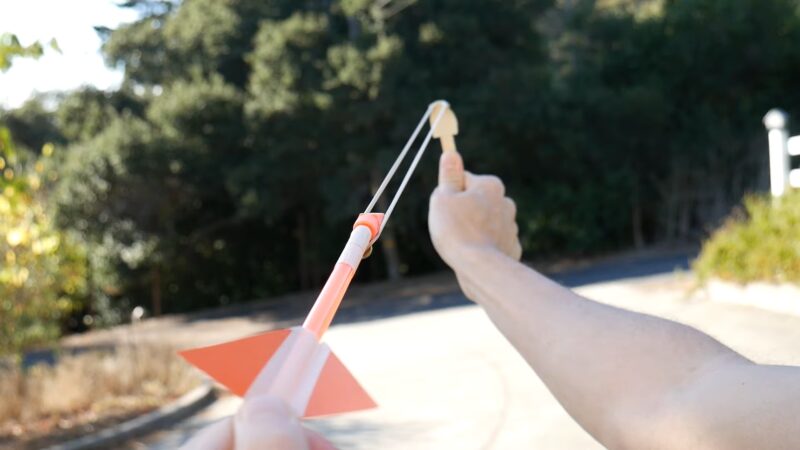
Slide the paper tube onto the straw, take a deep breath, and blow! Watch as your rocket soars, twirls, and dances in the air. The joy of seeing your creation take flight is unparalleled.
Fun Ways to Play

Racing and Competing
One of my family’s favorite activities is rocket racing. We each make our own rockets, adding personal touches and secret aerodynamic tweaks. Then, we line up and see whose rocket flies the farthest or highest. It’s a fun way to introduce a little friendly competition.
Target Practice
Set up targets around the room and try to hit them with your rockets. This can be as simple as a piece of paper on the floor or as elaborate as a homemade bullseye. Over the years, I’ve found that this activity not only hones aiming skills but also encourages problem-solving as kids (and adults!) figure out the best angles and force for launching.
Multiple Rocket Launch
If you’re feeling particularly adventurous, try making multiple rockets and launching them all at once. It’s a sight to behold and always results in peals of laughter.
FAQs
Can I use colored or patterned paper for my rockets?
Absolutely! Colored or patterned paper can add a fun aesthetic touch to your rockets. Just ensure the paper is lightweight for optimal flight.
How can I make my straw rocket fly higher?
Experiment with the design. Adjusting the rocket’s balance, adding fins, or changing the nose’s shape can influence its flight. Also, the force of your blow plays a significant role.
Are there any age restrictions for this activity?
While straw rockets are suitable for all ages, younger children (under 3) should be supervised to prevent any choking hazards from small parts or accidental ingestion of materials.
Can I use materials other than paper for the rocket body?
Yes, you can experiment with materials like thin cardboard or foil. However, remember that the weight and flexibility of the material will affect the rocket’s flight.
How can I turn this activity into an educational lesson?
Straw rockets are a great way to introduce concepts like aerodynamics, physics, and art. You can discuss the science behind the rocket’s flight, encourage design experiments, or even delve into the history of rockets.
My rocket doesn’t fly straight. What can I do?
Ensure that your rocket is balanced and that the nose is securely taped. Adding small fins at the base might also help stabilize its flight.
Can I add weight to my rocket?
While you can add small weights or use heavier materials, remember that adding too much weight might hinder the rocket’s flight. It’s all about finding the right balance.
Final Words
Straw rockets are more than just a craft; they’re a journey into the realms of creativity, science, and fun. Whether you’re a child eager to see your creation soar or an adult reminiscing about simpler times, the joy of launching a straw rocket is universal. So, gather your materials, let your imagination take flight, and embark on this delightful adventure.
